
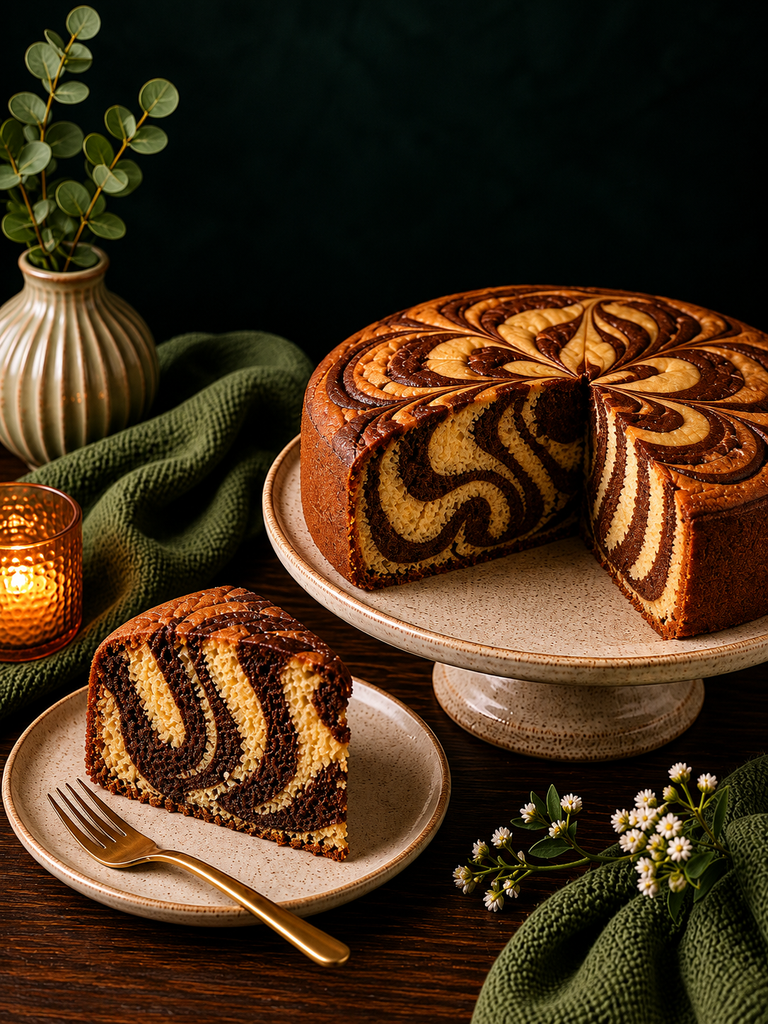
A soft, moist and delicious Marble Cake with beautiful swirls of vanilla and chocolate in every slice. This easy homemade cake is perfect for breakfast, afternoon coffee, or a simple dessert.
The best part? You don’t need any special ingredients or complicated techniques. Just one simple batter, divided into two flavors, then gently swirled together to create that beautiful marble effect.
Why You’ll Love This Marbleh Cake
-
- Soft and moist texture
-
- Rich chocolate and vanilla flavor
-
- Beautiful marble pattern
-
- Simple everyday ingredients
-
- Easy enough for beginners
-
- IPerfect with coffee or tea
Ingredients
For the Cake
-
- 2 cups (250 g) all-purpose flour
-
- 1 cup (200 g) granulated sugar
-
- ½ cup (115 g) unsalted butter, softened
-
- ¼ cup (60 ml) neutral oil
-
- ½ cup (120 ml) whole milk
-
- 3 large eggs, room temperature
-
- 2 teaspoons vanilla extract
-
- 2 teaspoons baking powder
-
- ¼ teaspoon salt
For the Chocolate Batter
-
- 1½ tablespoons unsweetened cocoa powder
-
- 2 tablespoons warm milk
-
- 1 tablespoon granulated sugar
How to Make Marble Cake
1. Prepare the Pan and Oven
Preheat your oven to 180°C (350°F).
Grease a 9-inch round cake pan or loaf pan and line the bottom with parchment paper.
This helps the cake release easily after baking.
2. Cream the Butter and Sugar
Beat the softened butter and sugar for about 3–4 minutes, until light, fluffy, and creamy.
This step helps create a lighter and more tender cake.
3. Add the Eggs and Vanilla
3. Add the Eggs and Vanilla
Add the eggs one at a time, mixing well after each addition.
Add the vanilla extract and mix until smooth.
4. Add the Dry Ingredients
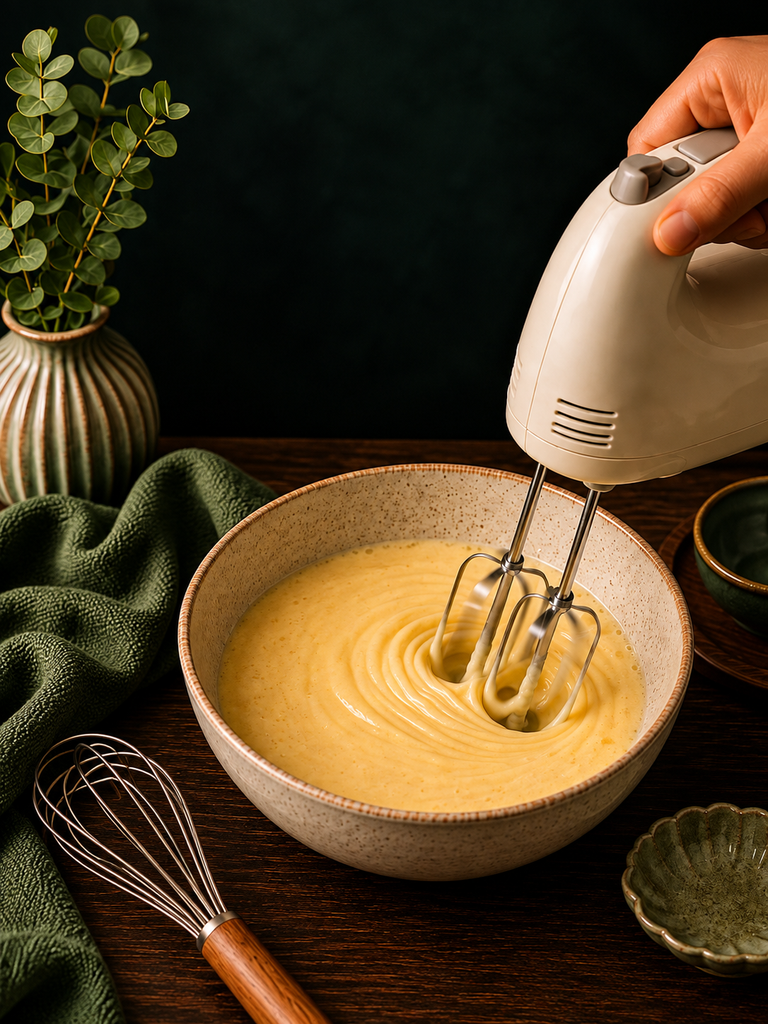 Whisk together the flour, baking powder, and salt in a separate bowl.
Add the dry ingredients gradually to the batter, alternating with the milk.
Mix only until the batter comes together. Do not overmix.
5. Make the Chocolate Batter
Transfer about one-third of the batter to a separate bowl.
Mix the cocoa powder, warm milk, and sugar together, then gently fold this mixture into the reserved batter.
You should now have a smooth vanilla batter and a rich chocolate batter.
6. Create the Marble Pattern
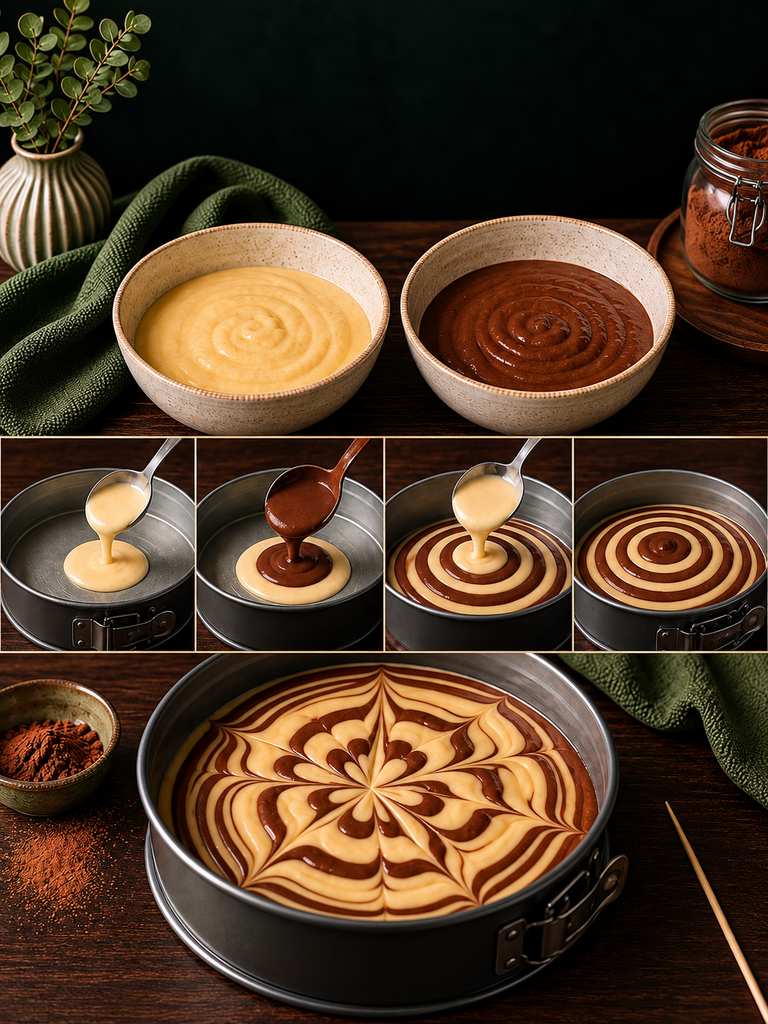 Spoon alternating amounts of vanilla and chocolate batter into the prepared pan.
Continue layering until all the batter has been used.
Gently run a knife or skewer through the batter a few times to create the marble effect.
Don’t over-swirl. Keeping the two batters slightly distinct gives you a much prettier pattern.
7. Bake
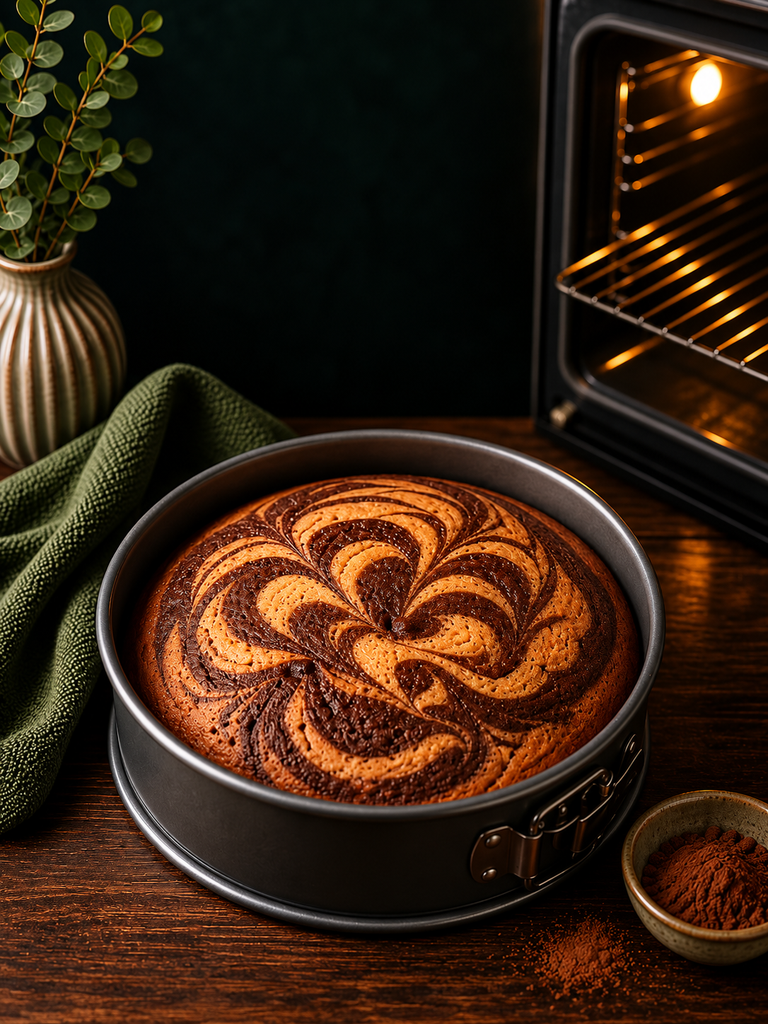 Bake for 35–45 minutes, or until a toothpick inserted into the center comes out clean or with a few moist crumbs.
Try not to open the oven repeatedly while the cake is baking.
8. Cool and Slice
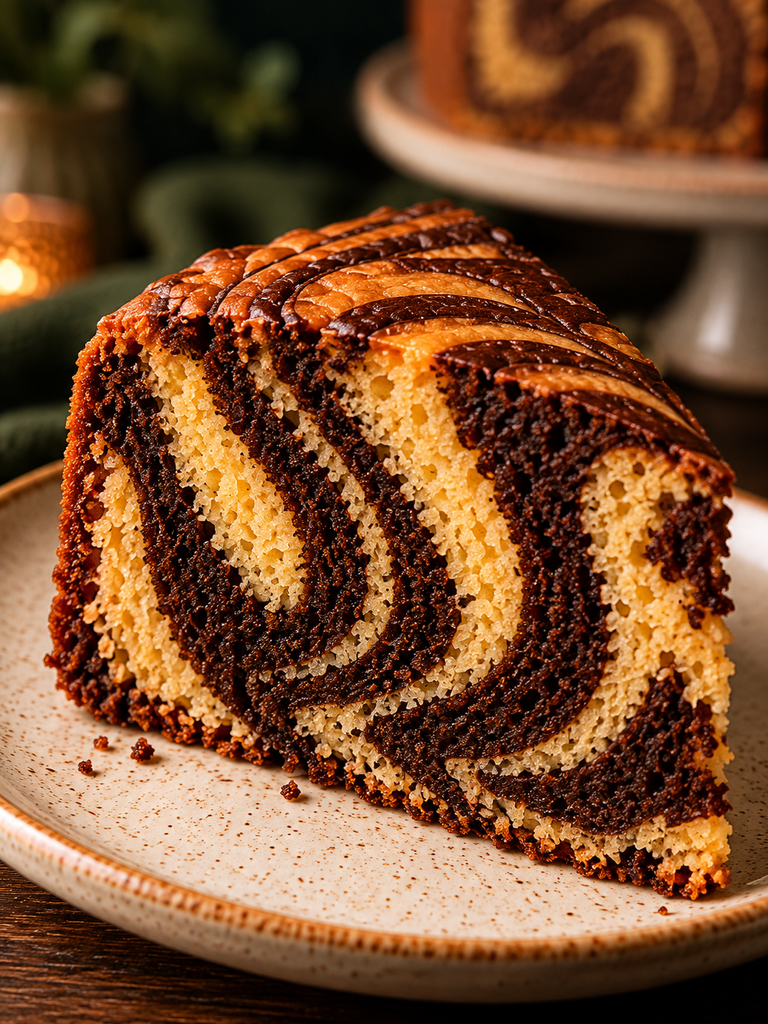 Let the cake cool in the pan for 10–15 minutes, then transfer it to a wire rack to cool completely.
Once cooled, slice it with a sharp knife to reveal the beautiful chocolate and vanilla swirls.
Tips for the Best Marble Cake
Don’t Overmix
Once the flour is incorporated, mix just until combined. Overmixing can make the cake dense.
Use Room-Temperature Ingredients
Room-temperature eggs, milk, and butter blend more evenly and help create a smoother batter.
Don’t Over-Swirl
A few gentle movements are enough to create the marble effect. Too much swirling will blend the two batters together.
Watch the Baking Time
Start checking the cake around the 35-minute mark. Overbaking is one of the easiest ways to lose moisture.
Want a Softer Cake?
The small amount of neutral oil helps keep the crumb soft while the butter gives the cake its rich flavor.
Keep the cooled cake in an airtight container at room temperature for up to 3 days.
For longer storage, refrigerate it in an airtight container for up to 5 days.
Individual slices can also be frozen for up to 1 month.
Frequently Asked Questions
Why is my marble cake dry?
The most common reason is overbaking. Remove the cake when a toothpick comes out clean or with a few moist crumbs.
How do I get a stronger marble pattern?
Alternate the vanilla and chocolate batter and make only a few gentle swirls with a skewer or knife.
Can I make this cake ahead of time?
Yes. Once completely cooled, store it in an airtight container and serve within three days for the best texture.
Can I freeze marble cake?
Yes. Wrap individual slices well and freeze for up to one month. Thaw before serving.
A Perfect Slice
Soft, buttery, chocolatey, and beautifully swirled, this Marble Cake is a simple classic that deserves a place in your baking collection.
Serve a slice with coffee or tea and enjoy it fresh, or warm it slightly for an extra comforting treat.
Follow @eatfoodyess for more healthy and delicious recipes
Homemade Marble Cake
Prep Time: 20 minutes
Cook Time: 35–45 minutes
Total Time: About 1 hour 5 minutes
Yield: 10–12 slices
Category: Dessert
Method: Baking
Ingredients
-
- 2 cups (250 g) all-purpose flour
-
- 1 cup (200 g) granulated sugar
-
- ½ cup (115 g) unsalted butter, softened
-
- ¼ cup (60 ml) neutral oil
-
- ½ cup (120 ml) whole milk
-
- 3 large eggs
-
- 2 teaspoons vanilla extract
-
- 2 teaspoons baking powder
-
- ¼ teaspoon salt
-
- 1½ tablespoons unsweetened cocoa powder
-
- 2 tablespoons warm milk
-
- 1 tablespoon granulated sugar
Instructions
- Preheat oven to 180°C (350°F) and prepare the cake pan.
- Beat butter and sugar until light and fluffy.
- Add eggs one at a time, then mix in vanilla.
- Combine flour, baking powder, and salt.
- Add the dry ingredients alternately with milk and mix until just combined.
- Transfer one-third of the batter to another bowl.
- Mix cocoa powder, warm milk, and sugar into the reserved batter.
- Alternate vanilla and chocolate batter in the prepared pan.
- Gently swirl with a knife or skewer.
- Bake for 35–45 minutes.
- Cool before slicing and serving.